Is your faucet head looking a little dull or covered in mineral buildup? Don’t worry, you can bring it back to life with just a few simple steps! A clean faucet head not only looks great but also helps improve water flow and efficiency. Whether it's your kitchen or bathroom sink, with the right techniques, you can make your faucet head sparkle like new again. In this post, we’ll share some easy tips and tricks to restore its shine and keep it looking fresh.
Why It’s Important to Keep Your Faucet Head Clean
A clean faucet head is essential for maintaining a steady water flow and preventing the buildup of bacteria or mineral deposits that can clog the faucet over time. Regular cleaning not only ensures better functionality but also helps to extend the lifespan of your faucet, reducing the need for costly repairs or replacements. Taking a few minutes to clean your faucet on a regular basis can save you money and effort in the long run. Beyond practicality, a sparkling, well-maintained faucet adds to the overall aesthetic of your bathroom or kitchen, giving it a fresh, polished, and inviting look. Whether you're hosting guests or simply enjoying your own space, a clean faucet contributes to a more pleasant environment.
How to Determine If There Is Build-Up on Your Faucet Head
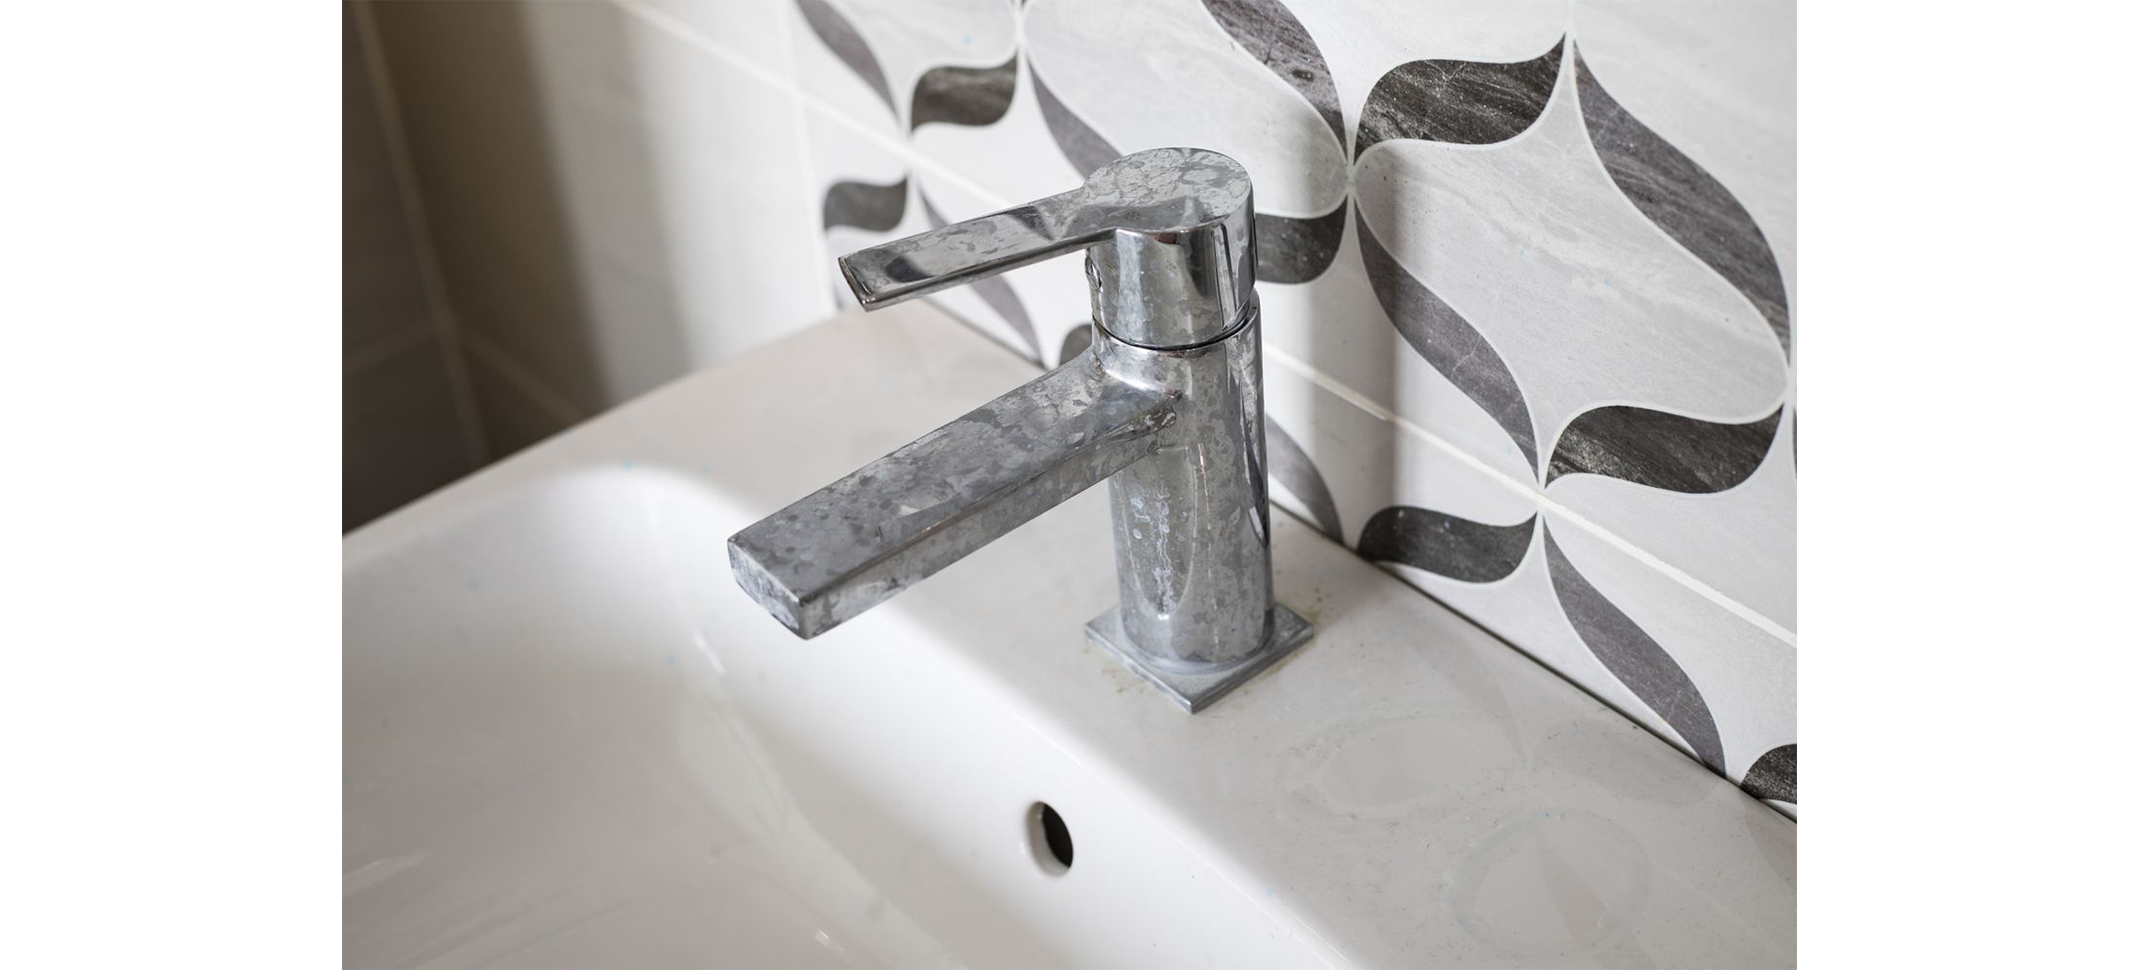
To quickly check for build-up, inspect the faucet head for white, crusty deposits, discolored spots, or any rough texture that wasn’t there before. These mineral deposits, often caused by hard water, can accumulate over time and block the flow of water. Additionally, if you notice reduced water pressure or water spraying in unusual directions instead of a smooth, steady stream, it’s a clear indication that the aerator is clogged with these deposits. Regular cleaning can help maintain your faucet's efficiency and prevent long-term damage.
Choosing the Right Cleaning Method
The method you choose to clean your faucet head depends on the type of build-up, such as mineral deposits, limescale, or dirt, as well as the material of your faucet, like stainless steel or chrome. Using the right method can help maintain the faucet's appearance and functionality without causing damage. Here’s a breakdown of three effective cleaning methods to tackle even the toughest build-up and keep your faucet looking as good as new:
- Vinegar Cleaning Solution
- Baking Soda Paste
- CLR (Calcium, Lime, and Rust Remover)
Cleaning hard water residue from a faucet head often requires the use of an acid like vinegar to dissolve the buildup, but it’s important to know that this can damage certain materials, including some metal surfaces and natural stone. If your faucet is made of chrome, nickel, or brass, you should limit its exposure to vinegar or calcium, lime, and rust-removing liquids (such as CLR) to no more than 30 minutes. Prolonged contact can lead to surface damage or discoloration of the fixture, which may be difficult to repair. Additionally, avoid scrubbing too harshly as this can create scratches. Always rinse thoroughly with water afterward to remove any residue. Proper ventilation is essential when cleaning, especially when using vinegar or strong chemicals like CLR, as they can release fumes that may irritate your respiratory system. Opening windows or turning on a fan can help keep the air fresh while you work. Taking these precautions will help ensure your faucet stays clean and damage-free.
Preparing Your Faucet for Cleaning
Before you start cleaning, gather the following faucet cleaning tools and materials:
- Turn off the water supply to the faucet.
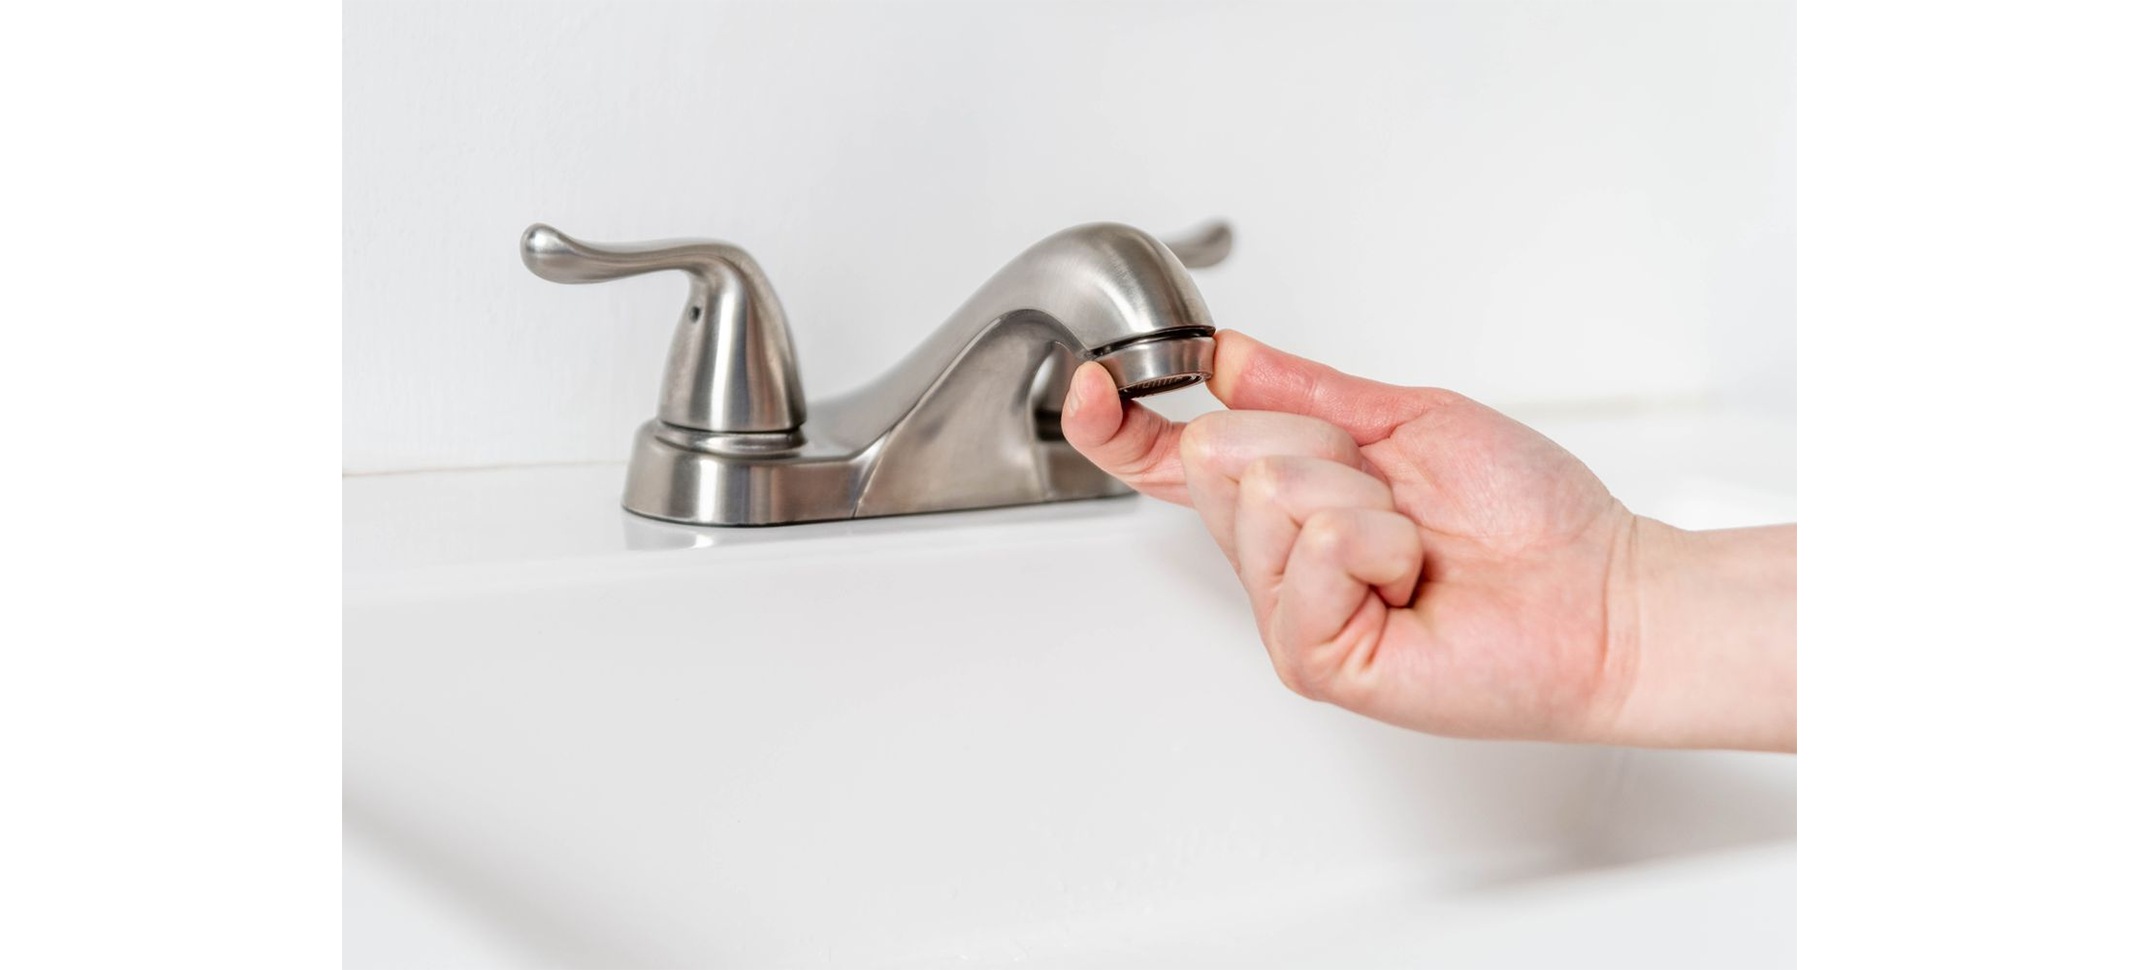
- Remove the faucet aerator by unscrewing it. Use pliers, if necessary, and be sure to wrap the jaws with a cloth to avoid scratching the faucet.
- Disassemble the aerator and lay out the parts on a clean surface.
Method 1: Cleaning with Vinegar
Materials Needed:
- White vinegar
- Small bowl or plastic bag
- Rubber band
- Old toothbrush
Instructions:
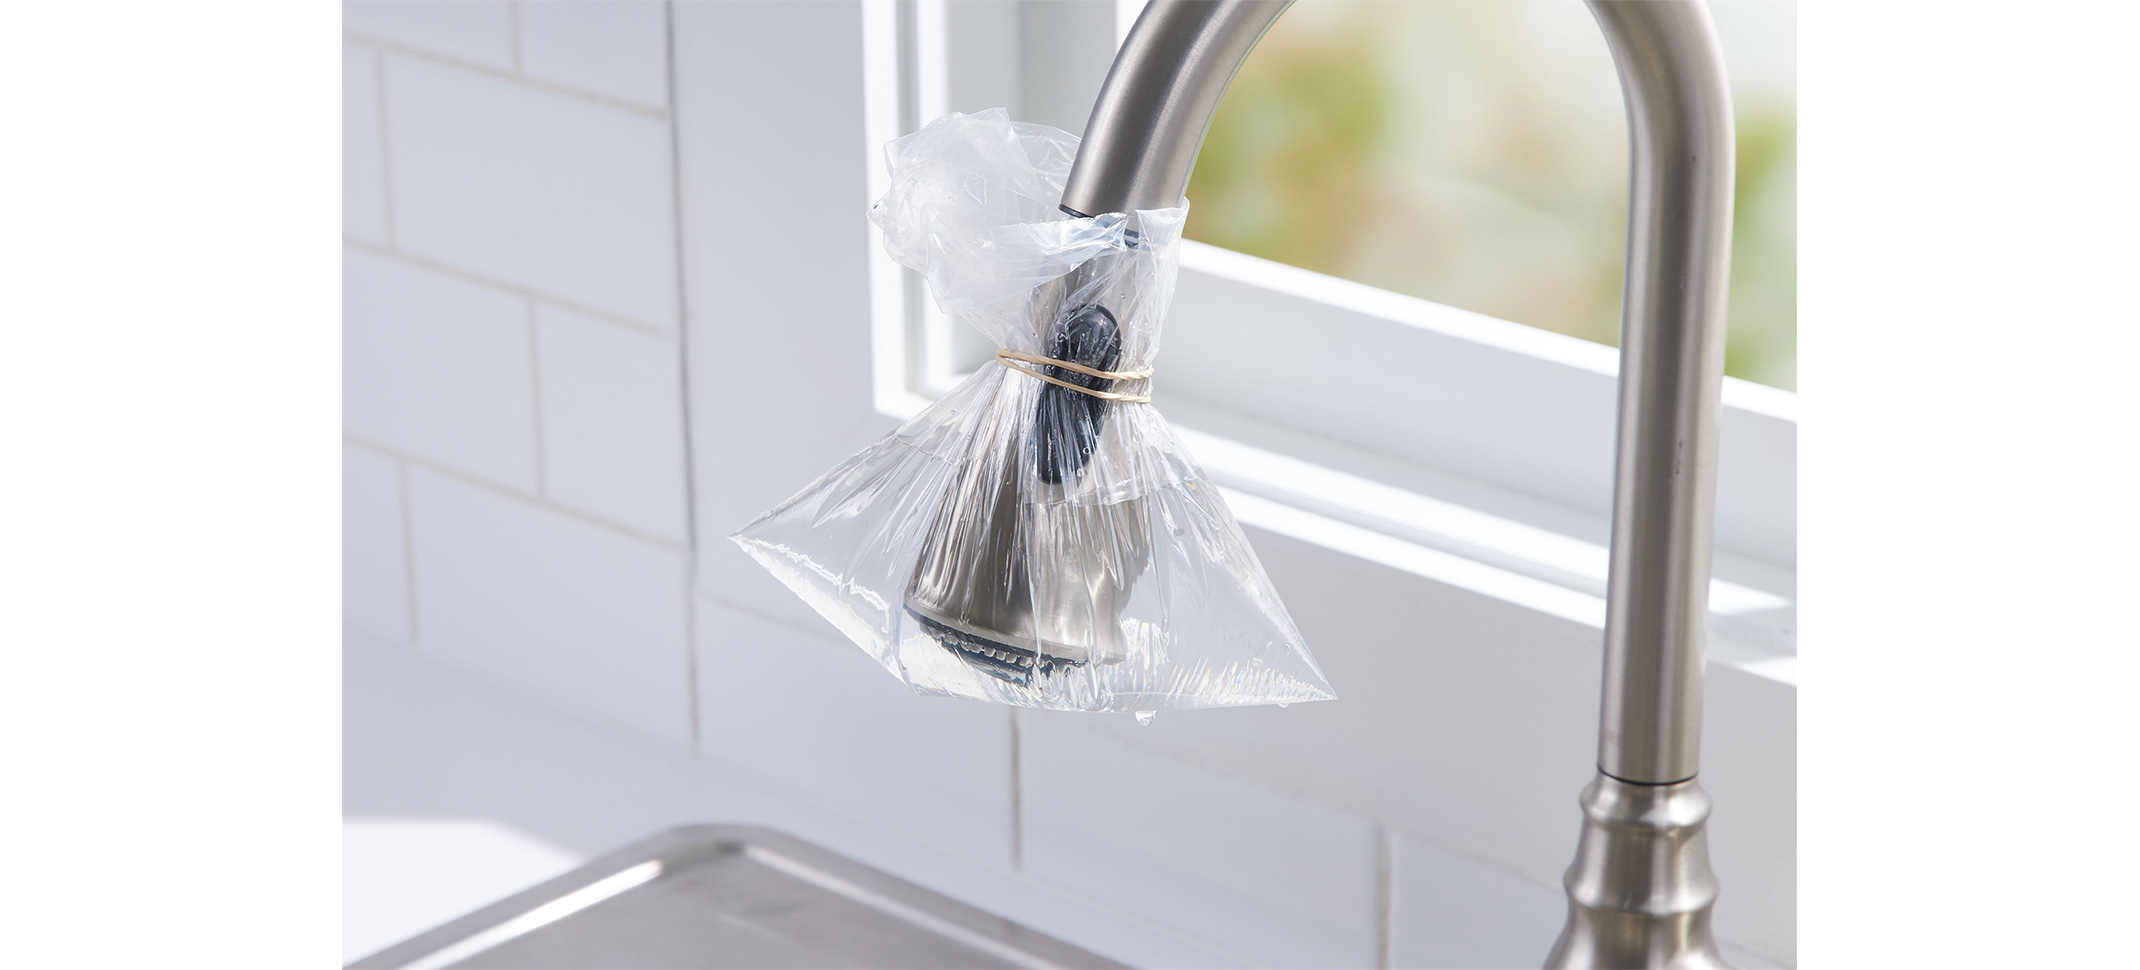
- Fill a small bowl or plastic bag with white vinegar.
- Submerge the faucet head or aerator parts in the vinegar.
- Secure the bag with a rubber band if using a plastic bag.
- Let it soak for at least 30 minutes, or overnight for heavy build-up.
- Remove the parts and scrub with an old toothbrush to remove loosened deposits.
- Rinse thoroughly with water and reassemble the aerator.
Method 2: Cleaning with Baking Soda
Materials Needed:
- Baking soda
- Water
- Small bowl
- Old toothbrush
Instructions:
- Mix baking soda with water to form a thick paste.
- Apply the paste to the faucet head or aerator parts.
- Let it sit for 15-20 minutes.
- Scrub with an old toothbrush to remove deposits.
- Rinse thoroughly with water and reassemble the aerator.
Method 3: Cleaning with CLR
Materials Needed:
- CLR
- Small bowl
- Rubber gloves
- Old toothbrush
Instructions:
- Pour a small amount of CLR, such as Flitz Stainless Steel & Chrome Cleaner, into a bowl and dilute as instructed.
- Submerge the faucet head or aerator parts in the solution.
- Let it soak for 2-5 minutes, following the manufacturer’s instructions.
- Scrub with an old toothbrush to remove deposits.
- Rinse thoroughly with water and reassemble the aerator.
Maintaining the Shine of Your Faucet
Once you clean your faucet and carefully reassemble it, it’s important to take the right steps to preserve its restored shine and functionality. Faucets can lose their luster over time due to water spots, mineral buildup, and daily use, but with proper care, you can keep them looking shiny and new for much longer. To maintain that polished look and prevent wear and tear, follow these simple yet effective maintenance tips:
Wipe Down Regularly: After each use, wipe the faucet with a soft cloth to remove water spots and prevent mineral build-up.
Use a Gentle Cleaner: Clean your faucet weekly with a mild soap and water solution. Avoid harsh chemicals that can damage the finish.
Dry Thoroughly: Always dry the faucet after cleaning to prevent water spots and streaks.
Install a Water Softener: If you have hard water, consider installing a water softener to reduce mineral deposits.
Regular Inspections: Periodically check the faucet for any signs of build-up or damage and address them promptly.
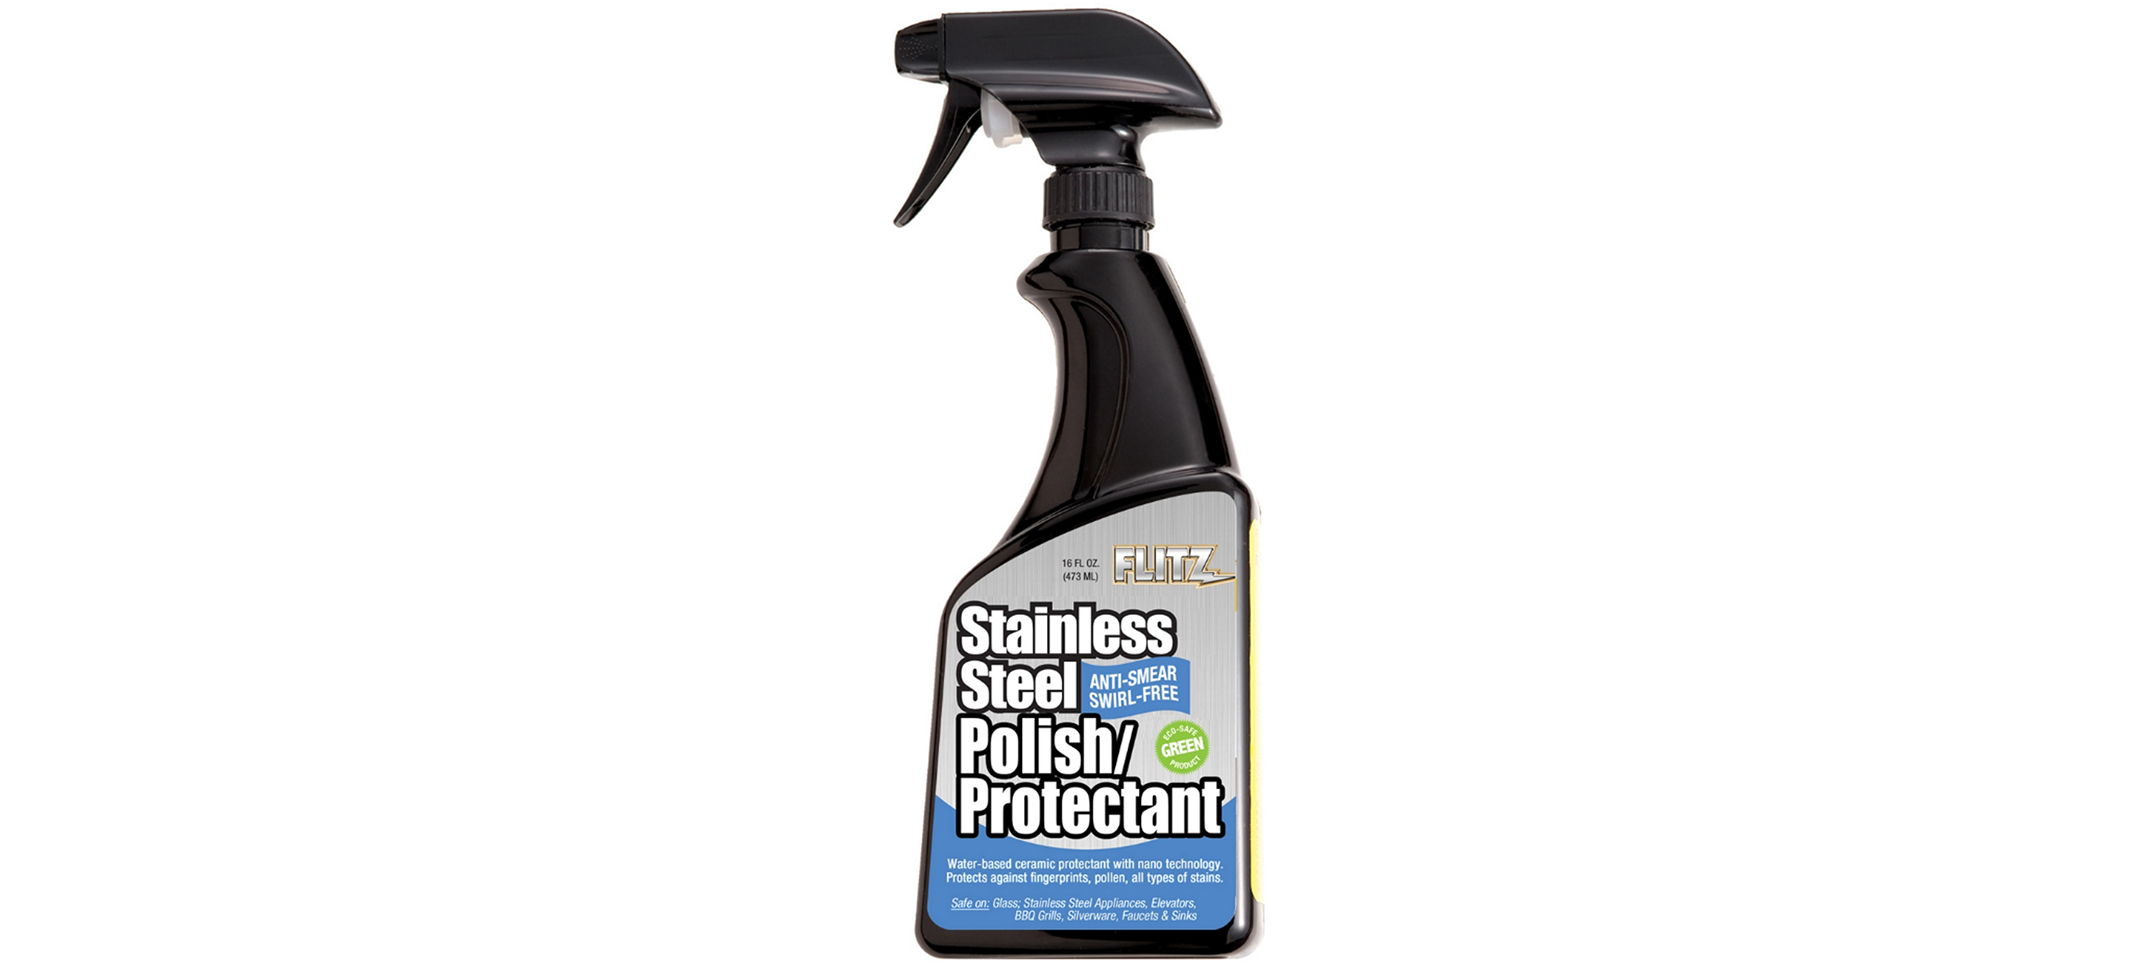
Polish the Faucet: Apply a high-quality metal polish, like Stainless Steel & Chrome Polish. Gently rub it onto the faucet in circular motions using a microfiber cloth. This keeps your faucet clean, repels water, and leaves a sparkling finish. Cover the surface evenly, focusing on tarnished areas.
Apply a Protective Finish: To protect your faucet and give it a brilliant shine, apply a thin layer of wax or sealant. Products like Flitz Faucet Wax create a barrier that prevents tarnishing.
Conclusion
Regular faucet maintenance is crucial for keeping your bathroom fixtures looking brand new and functioning properly. By using simple vinegar cleaning solutions, baking soda, or CLR, you can effectively remove build-up and restore the shine to your faucet. Remember to gather the necessary faucet cleaning tools and follow the steps carefully to achieve the best results. Whether you have traditional or touchless faucets, keeping them clean will enhance their longevity and performance.


