
Choosing the Best Toilet Flapper Replacement
A running toilet can be more than just noisy—it can skyrocket your water bill and waste precious resources. If your toilet isn’t flushing correctly, or you constantly hear water running, chances are the toilet flapper is to blame. But how do you choose the right replacement? This guide will help you master the art of selecting, installing, and maintaining the perfect toilet flapper for your needs.
Whether you're a homeowner tackling a DIY fix, a plumbing enthusiast looking for tips, or a seasoned plumber, this post will equip you with everything you need to know about toilet flappers.
What Is a Toilet Flapper and Why Does It Matter?
First things first, what exactly is a toilet flapper? Essentially, it’s that little rubber or plastic valve at the bottom of your toilet tank that seals the drain, allowing the tank to fill with water. When you flush, the flapper lifts, releasing water from the tank into the bowl. When working properly, it ensures efficient water flow and prevents leaks.
A malfunctioning flapper can disrupt the entire process, leading to leaks or incomplete flushing. Even worse, a damaged flapper could waste up to 200 gallons of water per day! That’s why replacing a worn-out toilet flapper is not just a convenience, it’s a necessity.
Types of Toilet Flappers
Not all toilet flappers are created equal. The type you need depends on your toilet design, tank capacity, and personal preferences. Here’s a breakdown to help you understand the various options available.
Rubber vs. Plastic Flappers
Rubber flappers are the most common choice for toilet repair and maintenance due to their flexibility and durability. Designed to create a tight seal, they effectively prevent leaks and ensure optimal water flow. Made from high-quality rubber, these flappers are easy to install and widely available. However, they can degrade more quickly when exposed to harsh conditions, such as high levels of chlorine, mineral buildup from hard water, or prolonged use. Regular inspection and replacement can help maintain their performance and extend the lifespan of your toilet's flushing system.
Plastic flappers are a great alternative if you’re looking for something more durable and resistant to hard water or harsh chemicals commonly found in some plumbing systems. Unlike rubber flappers, which can degrade over time when exposed to these elements, plastic flappers hold up better in challenging conditions. While they may not always form as tight of a seal as rubber, they can offer a longer lifespan with proper care and regular maintenance, making them a reliable option for many households.
Size Matters
Toilet flappers typically come in two sizes: 2 inches and 3 inches. 2-inch flappers are the most common size and fits most standard toilets. 3-inch flappers are generally found in more modern, high-efficiency toilets.
Not sure which size your toilet uses? Measure the diameter of the flush valve or check the manufacturer label on your toilet tank.
Universal vs. Specific Flappers
Universal toilet flappers are designed to fit most standard toilets, regardless of brand. They’re highly convenient if you’re unsure about your toilet’s specifications.
Brand-specific flappers, like Kohler or American Standard, design proprietary flappers tailored to their toilets. While these may cost more, they guarantee a perfect fit.
How to Choose the Right Toilet Flapper
With so many options, how do you narrow it down to the best toilet flapper? Here are a few steps to guide you through the selection process.
Step 1: Inspect Your Current Flapper
Before buying a replacement, take a look at the flapper already in your toilet. Note its material, size, and any identifying details like brand logos or numbers.
Step 2: Check the Flush Valve Size
The flush valve is the round opening at the bottom of the tank where the flapper sits. Most standard toilets use a 2-inch valve, but newer models often feature a larger, 3-inch valve for more powerful flushing.
Step 3: Consider Your Water Quality
If you live in an area with hard water or use chlorine tablets in your toilet, look for durable flappers designed to resist chemical and mineral damage. Silicone flappers or reinforced rubber models are excellent options.
Step 4: Choose Based on Efficiency
If conserving water is a priority, opt for a high-performance flapper designed to reduce water usage. Many high-efficiency toilets require specific flappers to operate optimally.
How to Replace a Toilet Flapper
Replacing a toilet flapper is one of the simplest plumbing tasks out there. Here’s a quick toilet flapper replacement guide to walk you through it.
Tools You’ll Need
- Replacement toilet flapper
- Towels to catch any spills
Step-by-Step Instructions
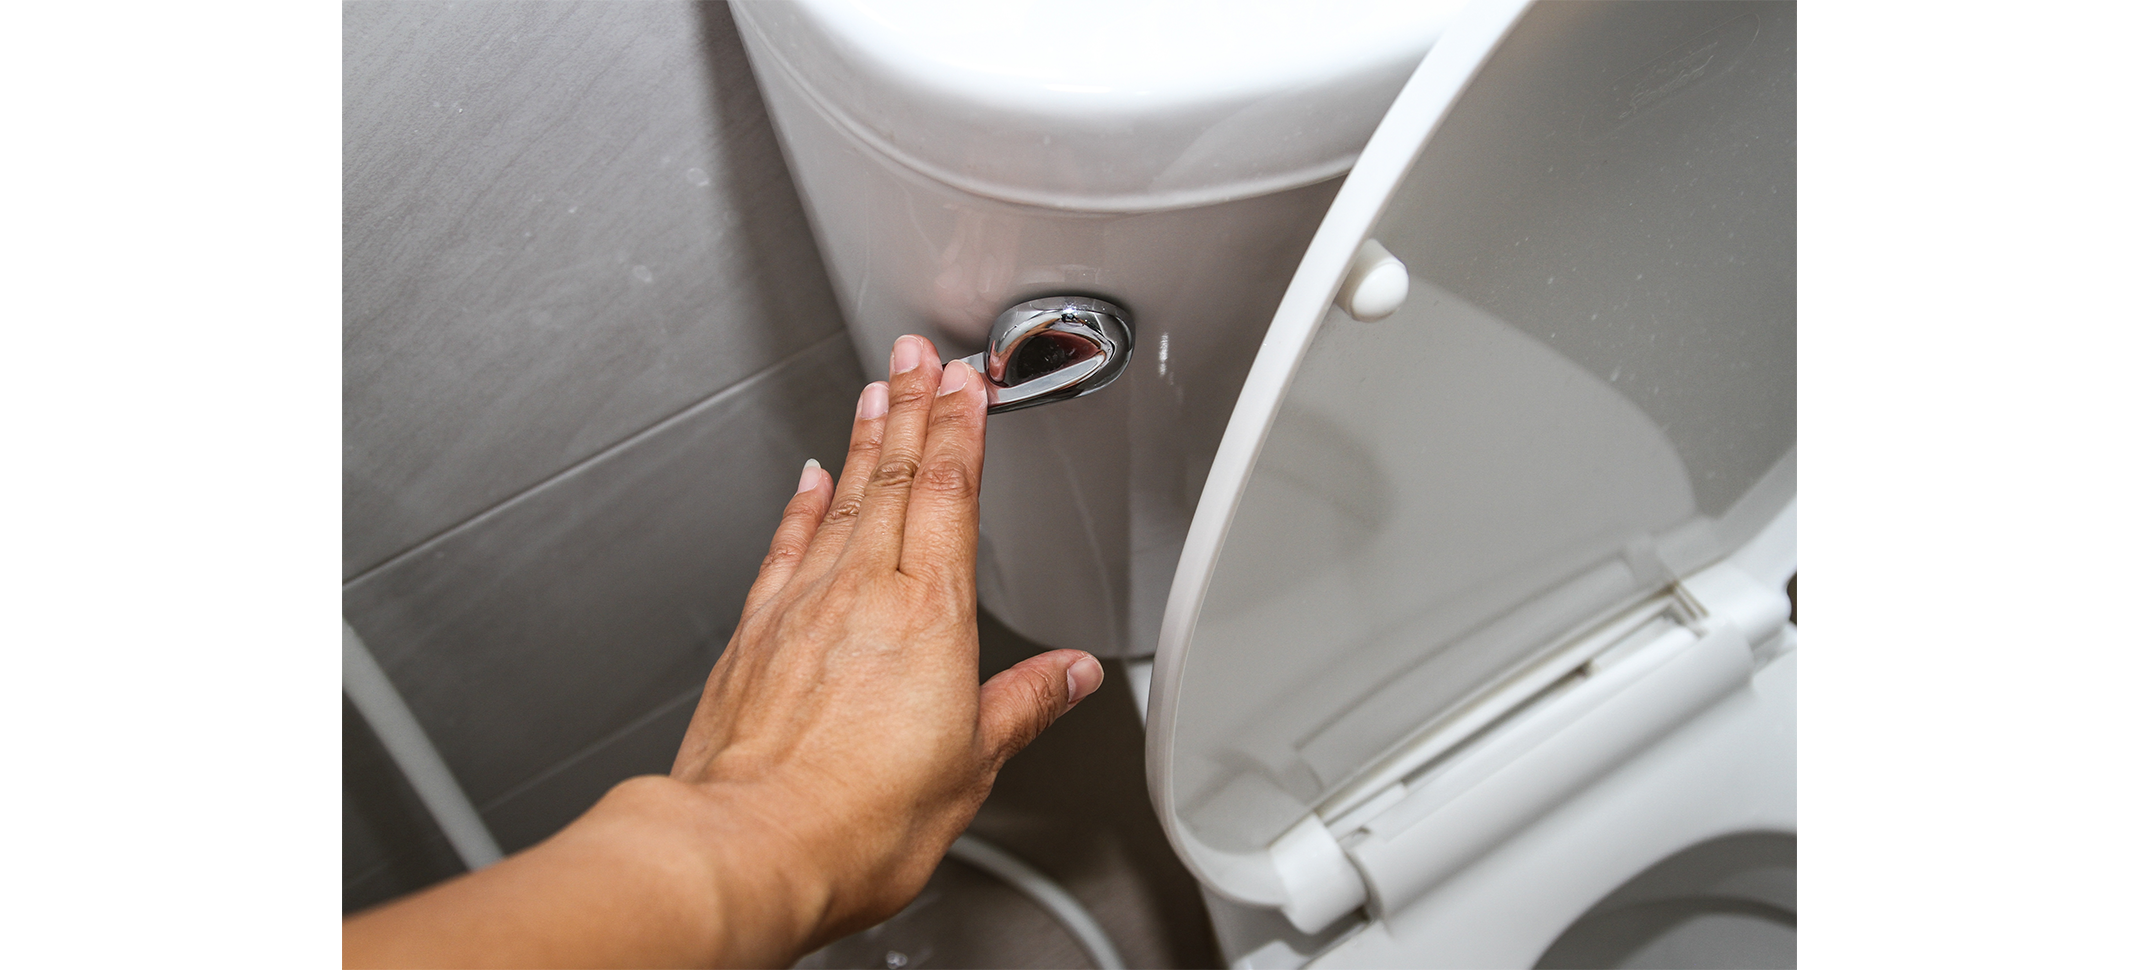
- Turn Off the Water Supply
Locate the shutoff valve (usually near the base of the toilet) and turn it off. Flush the toilet to empty the tank.

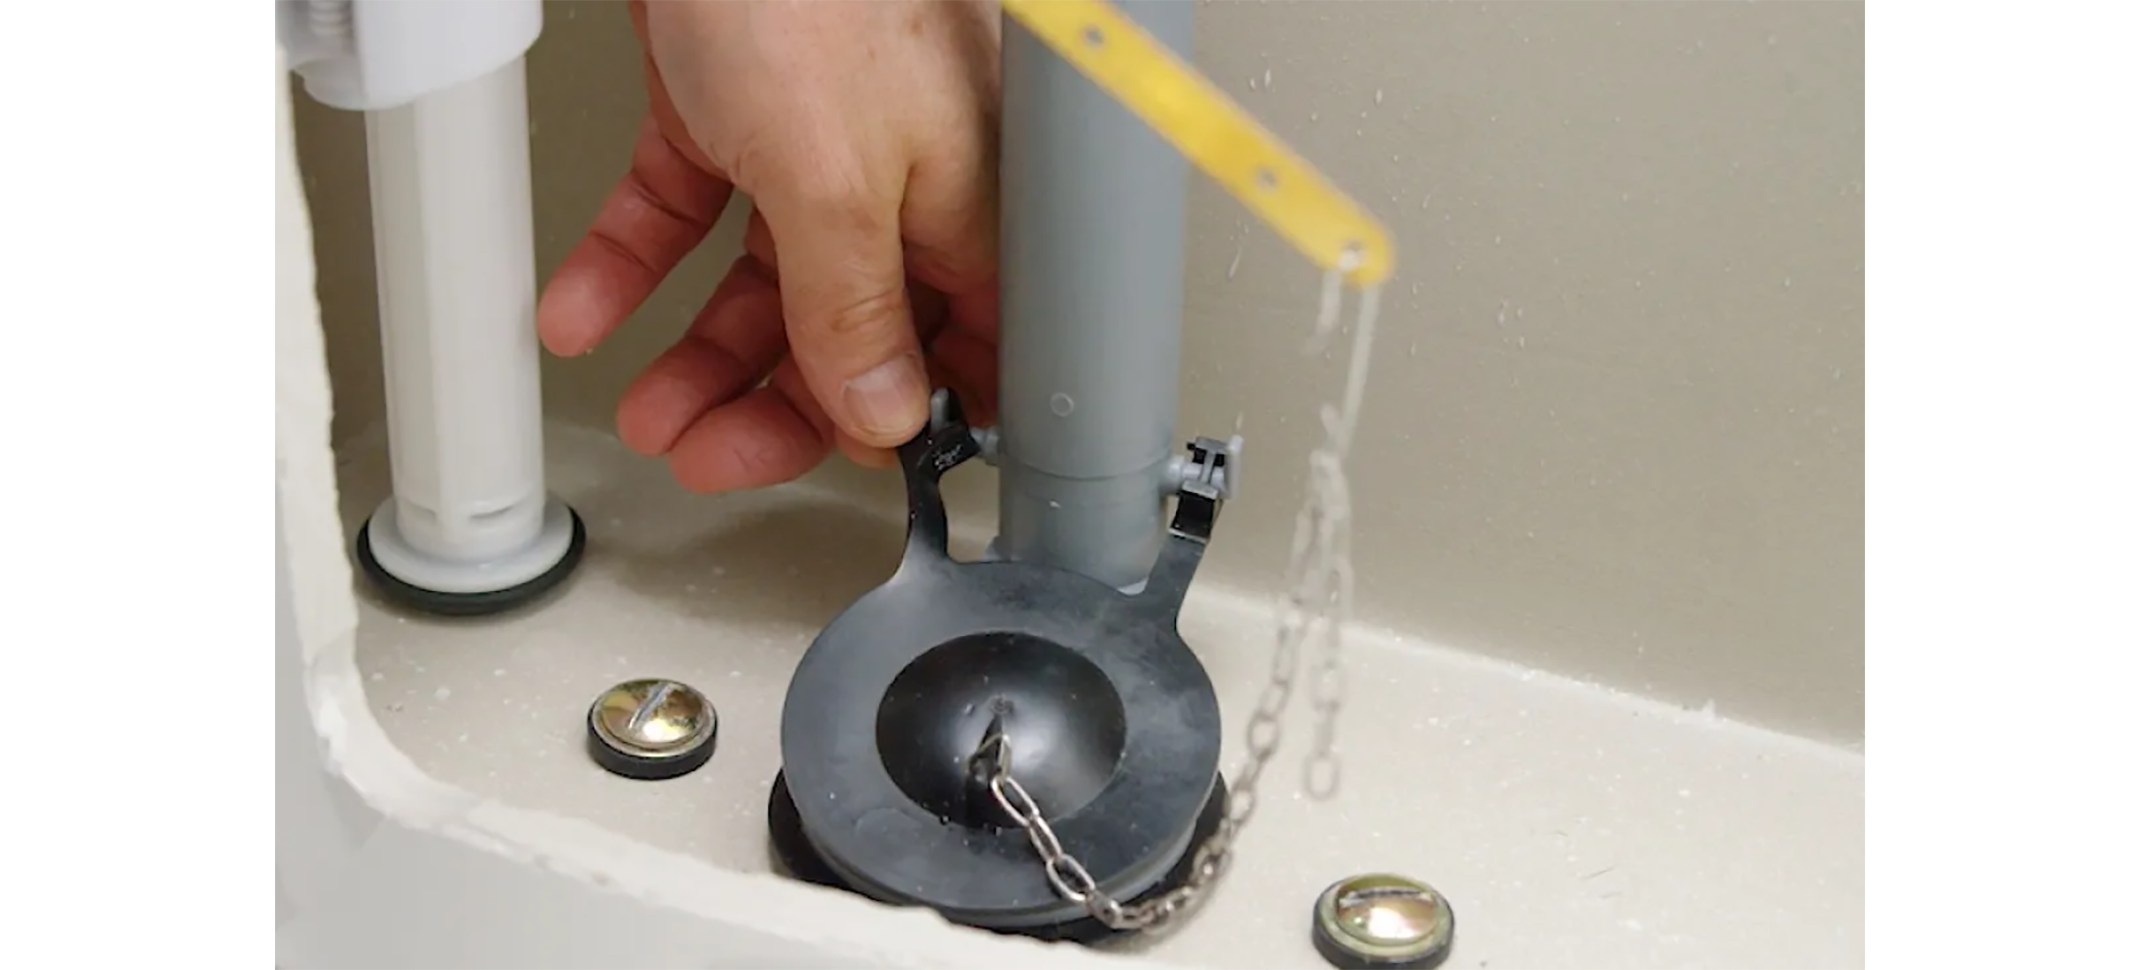
- Remove the Old Flapper
Disconnect the chain attached to the flush lever. Gently unhook the flapper’s side arms from the flush valve.
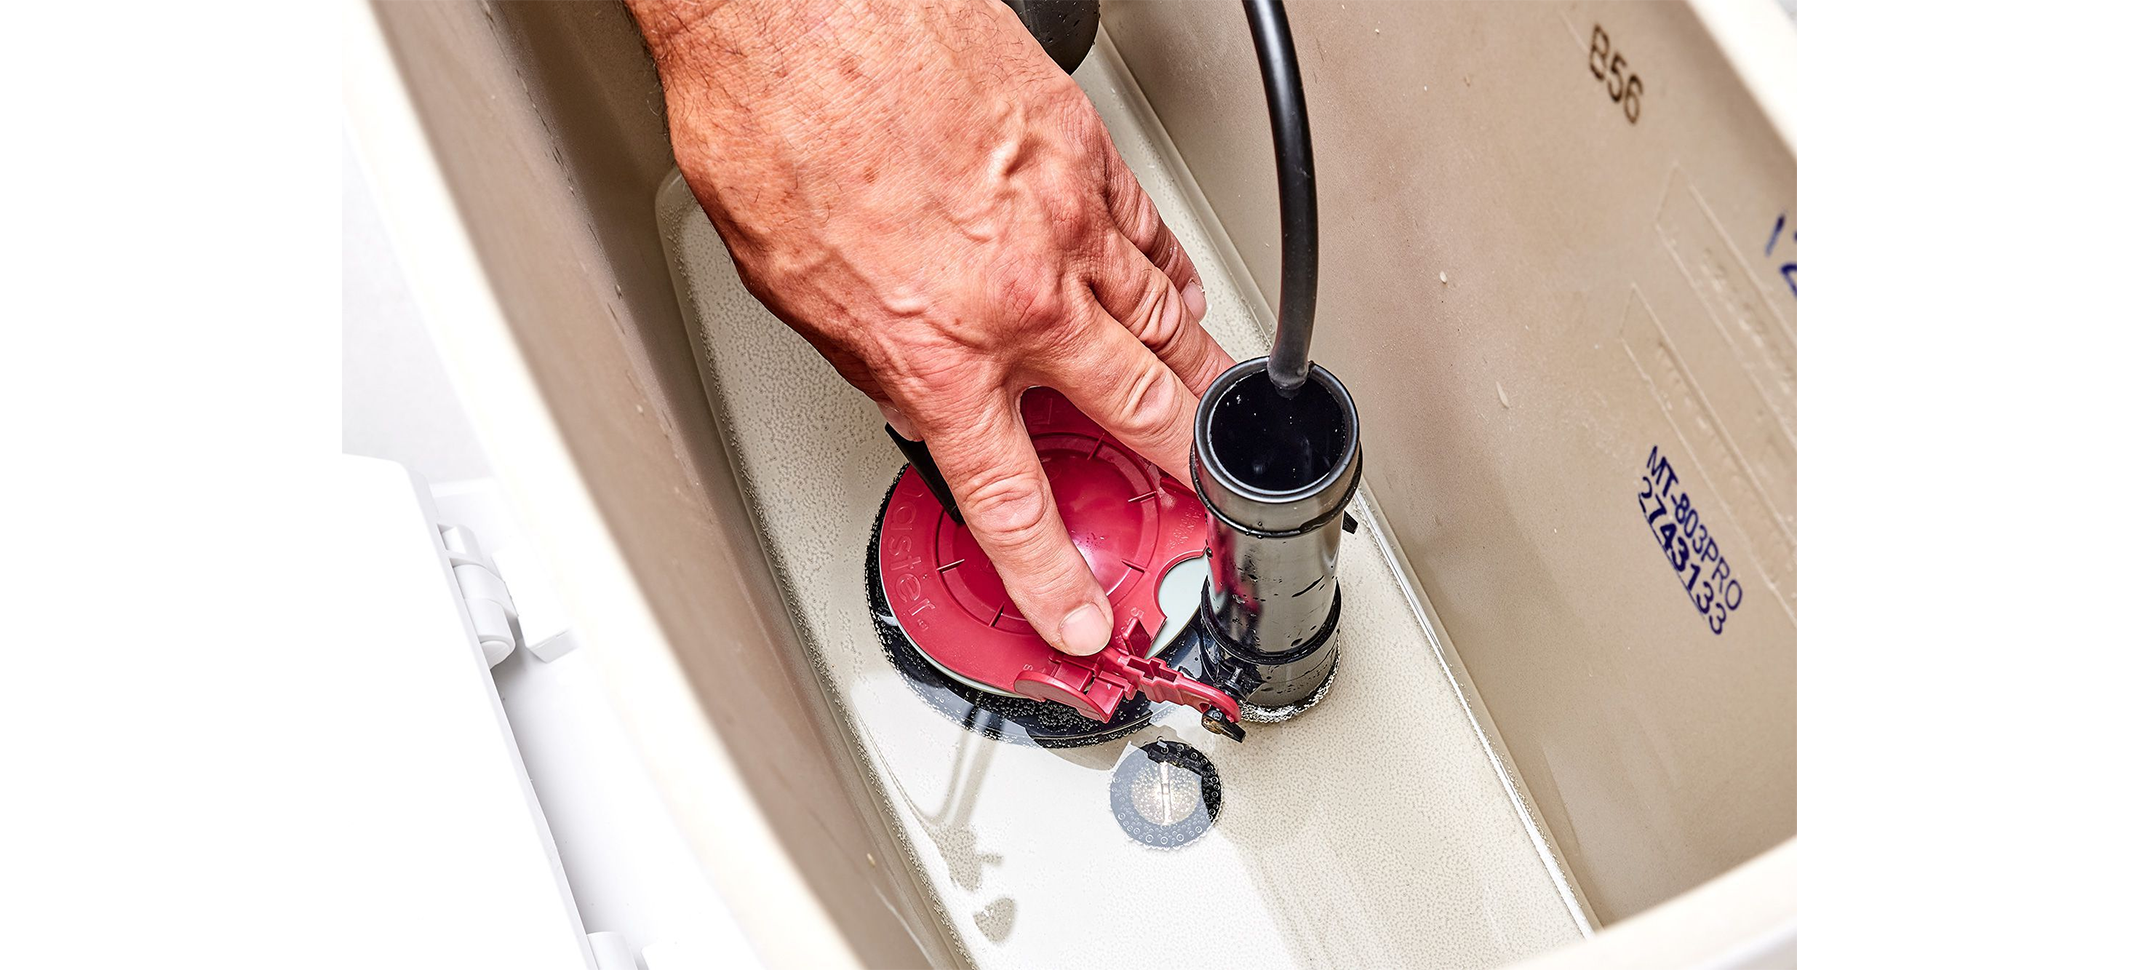
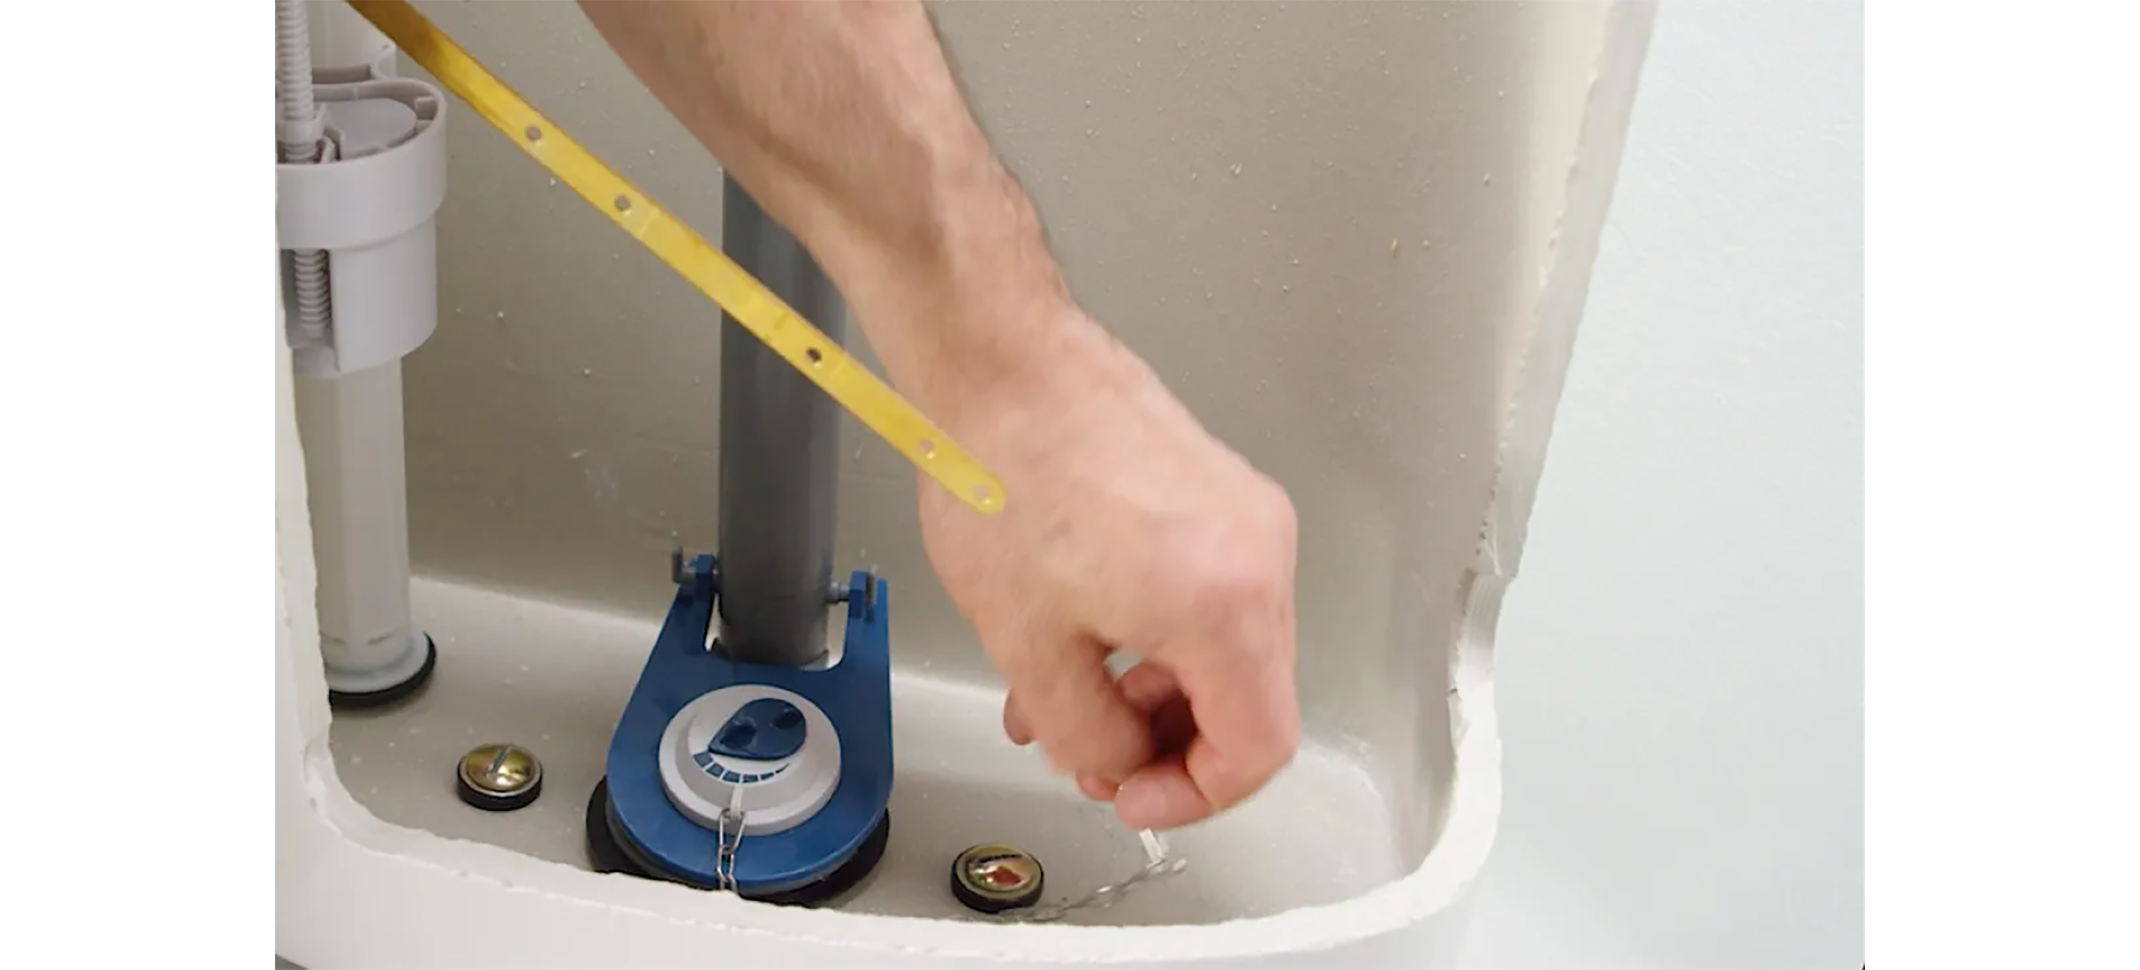
- Install the New Flapper
Attach the side arms of the new flapper to the flush valve. Then connect the chain to the flush lever. Leave a little slack in the chain so the flapper can open and close fully.
- Test the Flush
Turn the water supply back on and flush the toilet. Check for any leaks or issues with water flow.
And that’s it! You’ve just replaced a toilet flapper like a pro.
Troubleshooting Common Issues
Still having problems after replacing the flapper? Here are some quick troubleshooting tips.
- If the toilet is still running, ensure the chain isn’t too tight or too loose.
- If the toilet has a weak flush, double-check that the flapper is opening completely during the flush cycle.
- If you notice any leaks, verify that the flapper is seated correctly on the flush valve.
Why Regular Maintenance Matters
Toilet flappers may seem small but neglecting them can cost you big in the long run. Perform regular checks on your flapper and replace it as soon as you notice cracks, warping, or discoloration. A little maintenance goes a long way in ensuring your water bills stay affordable and your toilet works efficiently.
Final Thoughts
With this toilet flapper replacement guide, you’re well on your way to mastering one of the most common home plumbing fixes. Whether you’re upgrading to the best toilet flapper for your system or troubleshooting ongoing issues, the steps outlined above will save you time, money, and hassle.
Got a question, or want personalized product recommendations? Comment below or reach out to our team of experts. Because even a small upgrade, like a functioning toilet flapper, can make your home run more efficiently.


