
When it comes to modern plumbing, PEX (cross-linked polyethylene – if you are into the scientific name for pipes) has become a favorite among professionals and DIYers alike. But not all PEX is the same. You’ll often hear about PEX-A and PEX-B—each with distinct manufacturing processes, properties, and tools required. Let’s break down what sets them apart, when to use each, and which tools offer the versatility to work with both types.
Understanding PEX-A and PEX-B
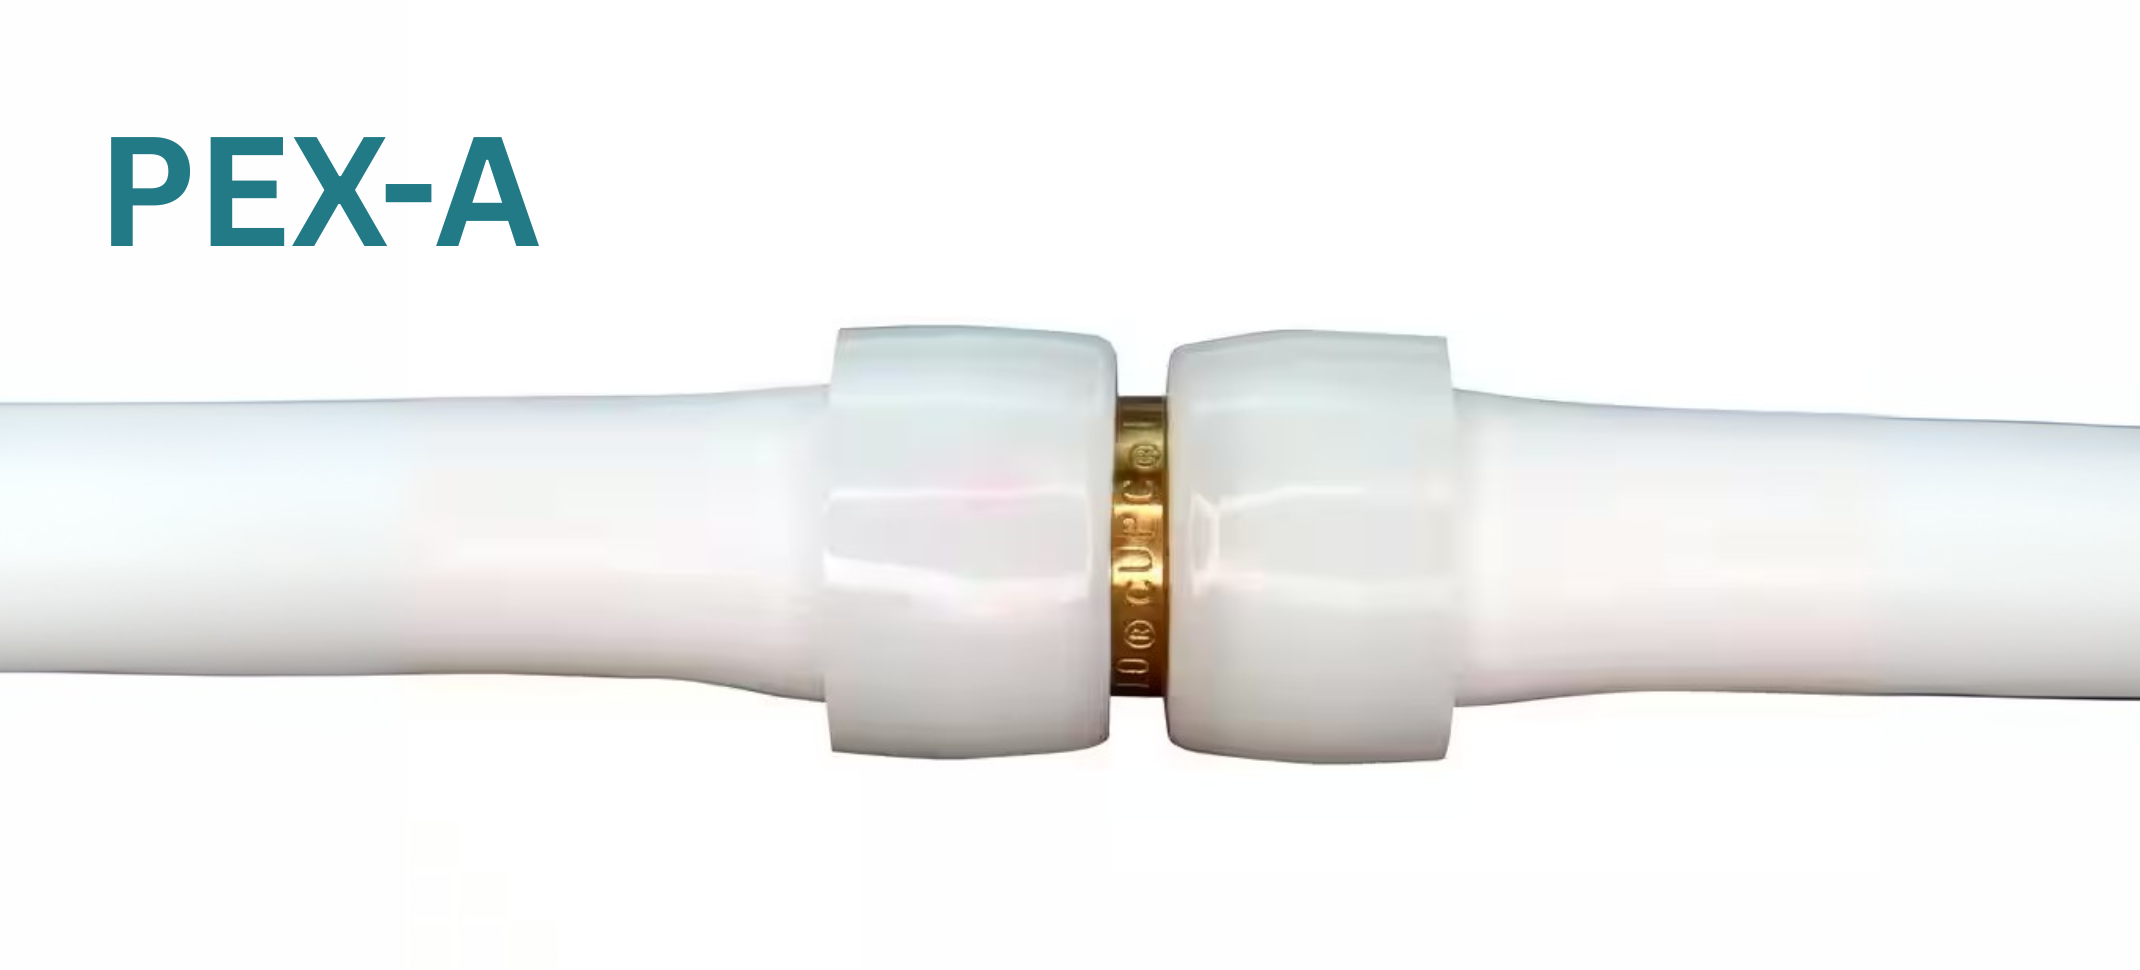
PEX-A (Engel Method)
This is often referred to as Expansion PEX or Upnor PEX. Upnor is a brand that has dominated the market with PEX-A and became the Kleenex of PEX-A
- Manufacturing: Made using the peroxide (Engel) method, which allows cross-linking during the extrusion process.
- Flexibility: The most flexible of all PEX types. Excellent for tight bends and offers improved resistance to bursting from freezing compared to rigid piping.
- Repairability: It has "shape memory," meaning it can return to its original shape after kinking—simply apply heat.
- Common Use Cases: Ideal for remodels, areas with tight corners, and cold climates where its flexibility can be an advantage.
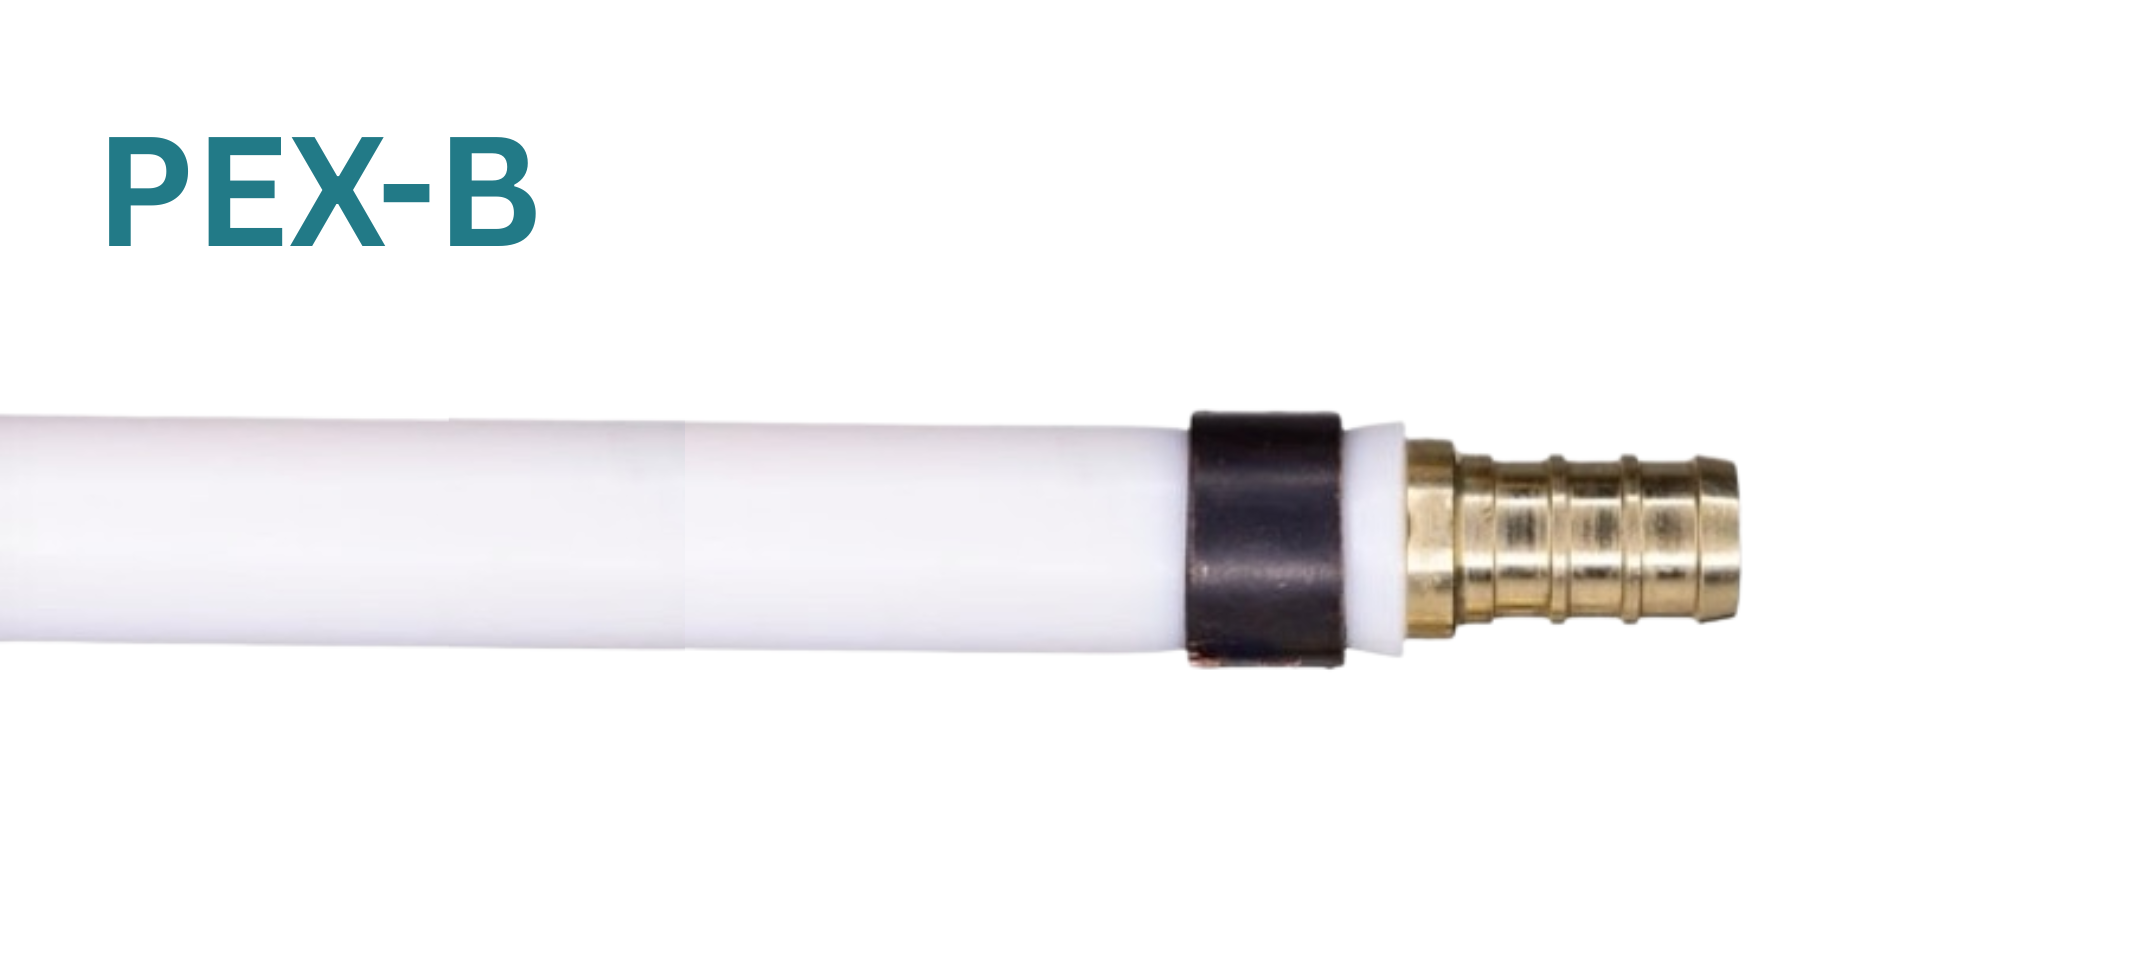
PEX-B (Silane Method)
For sure the most DIY friendly piping I have worked with and it is used by professionals in the field every day. Crimp or cinch rings are used with PEX-B
- Manufacturing: Uses the moisture-cure or silane method, where cross-linking happens after extrusion.
- Durability: Slightly stiffer and more affordable than PEX-A. Strong resistance to chlorine and good for long, straight runs, but can still make some minor bends as long as the angle is not too sharp.
- Repairability: Less flexible and cannot be heat-repaired like PEX-A, but still resilient for most uses.
- Common Use Cases: Best for new construction, slab work, and applications requiring more rigid support.
Tools That Work with Both PEX-A and PEX-B
If you want tools that can handle both PEX-A and PEX-B, here’s what to look for:
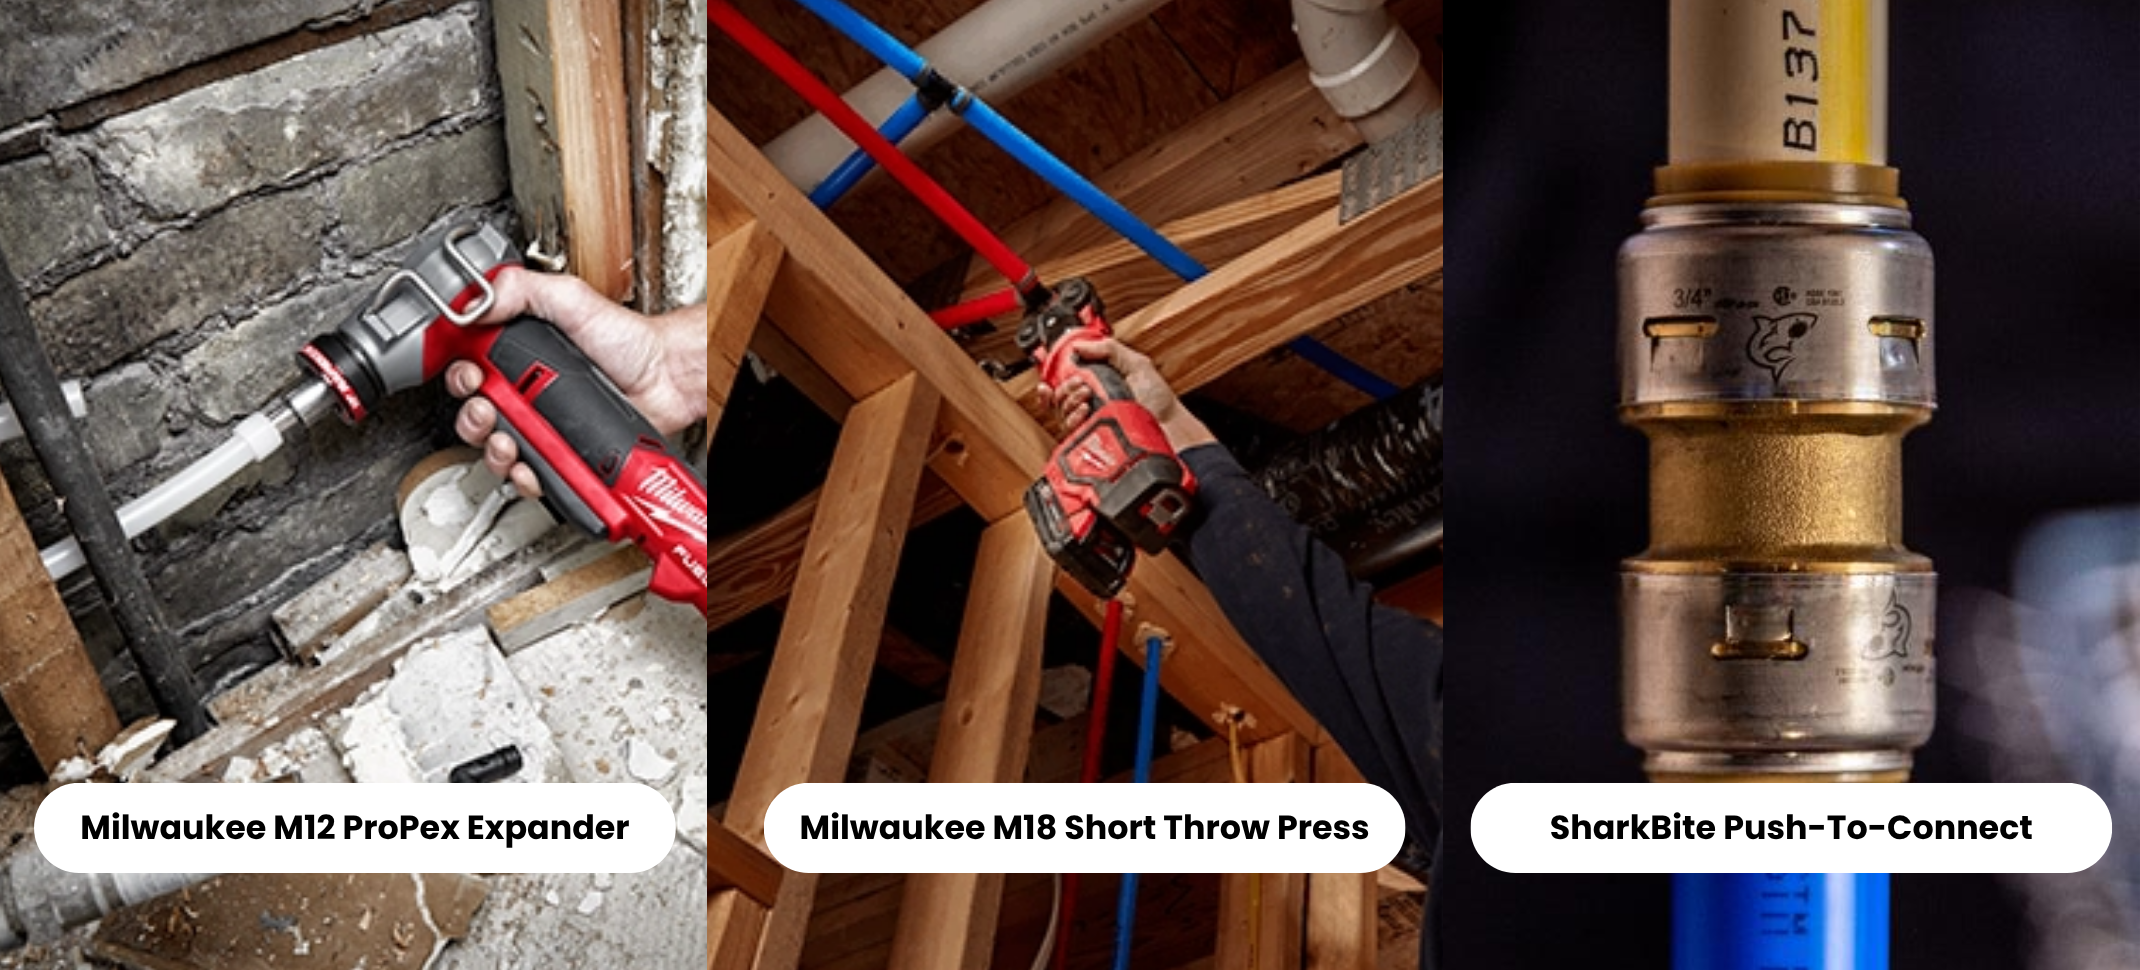
1. Expansion Tools (Exclusively for PEX-A)
- Example: For top-notch PEX-A installations, check out the Milwaukee 2532-22 M12 FUEL ProPEX Expander Kit w/ 1/2"-1" RAPID SEAL ProPEX Expander Heads.
- Compatibility: Only for PEX-A with expansion fittings like Uponor/Wirsbo.
- Note: These tools are NOT compatible with PEX-B under any circumstances. Attempting to expand PEX-B can lead to severe tubing damage and leaks, as PEX-B does not have the necessary shape memory.
2. Crimp and Clamp Tools (Compatible with Both)
- PEX Crimp Tools: Use copper rings and are compatible with both PEX-A and PEX-B when paired with the right fittings. A professional-grade option for crimping is the Milwaukee 2674-22C M18 Short Throw Press Tool Kit w/ PEX Crimp Jaws.
- PEX Clamp (Cinch) Tools: Use stainless steel clamps. Great for versatility and often easier to use in tight spaces. For reliable clamp connections, consider the Sharkbite 3/8 in. - 1 in. PEX Clamp Tool - UC961.
- Popular Models:
- SharkBite Clamp Tool
- Apollo Multi-Head Crimp Tool
- IWISS Combo Crimp/Cinch Tools
3. Push-to-Connect Fittings (Universal Use)
- Push Fittings like SharkBite or Sioux Chief allow joining PEX-A and PEX-B without specialized tools.
- Ideal for quick repairs or retrofits.
Essential for any PEX Job: The Cutter! No matter which type of PEX you're working with, a clean, straight cut is crucial for a leak-free connection. That's where a dedicated PEX and tubing cutter comes in handy, like the Milwaukee 48-22-4204 PEX & Tubing Cutter.
When to Use PEX-A vs PEX-B
|
Feature/Use Case |
PEX-A |
PEX-B |
|
Flexibility |
High (best for retrofits) |
Moderate (rigid runs) |
|
Freeze Resistance |
Improved Burst Resistance (due to flexibility) |
Good Burst Resistance |
|
Price |
Higher |
More economical |
|
Tooling |
Expansion only |
Crimp/Clamp/Push |
|
Repair Ease |
Heat-kink recovery |
Replace section if kinked |
|
Chlorine Resistance |
Moderate |
Higher |
Final Thoughts: Choosing the Right Fit
If flexibility and durability are top priority—say in a cold climate or tight crawlspace—PEX-A is your best bet. If budget and chemical resistance matter more—like in new builds with long, straight runs—PEX-B delivers solid value. Tool Tip: If you're unsure which type you'll work with most, start with a clamp tool kit. They're generally compatible with both tubing types when used with proper fittings and don’t require calibration like some crimp tools.
Ready to Get Started? Explore our curated selection of PEX tools and kits. Whether you’re expanding a system or starting from scratch, we’ve got the gear to make your job easier.